How to Grow a Pomelo Tree from Seed: Step-by-Step Guide
Learn how to grow a pomelo tree from seed with this detailed guide. Covers seed selection, germination methods, potting, transplanting, and realistic timelines for fruit production.
How to Grow a Pomelo Tree from Seed: Step-by-Step Guide
Growing a pomelo tree from seed is a fun long-term gardening project, but it requires honest expectations. A seed-grown pomelo takes 8 to 15 years to produce its first fruit, compared to 3 to 5 years for a grafted nursery tree. The fruit it eventually bears may differ from the parent in flavor, size, and quality.
That said, there are real reasons to grow from seed. The process is educational, the young trees are beautiful houseplants, and the patience involved has its own satisfaction. The method below reflects what consistently works best.
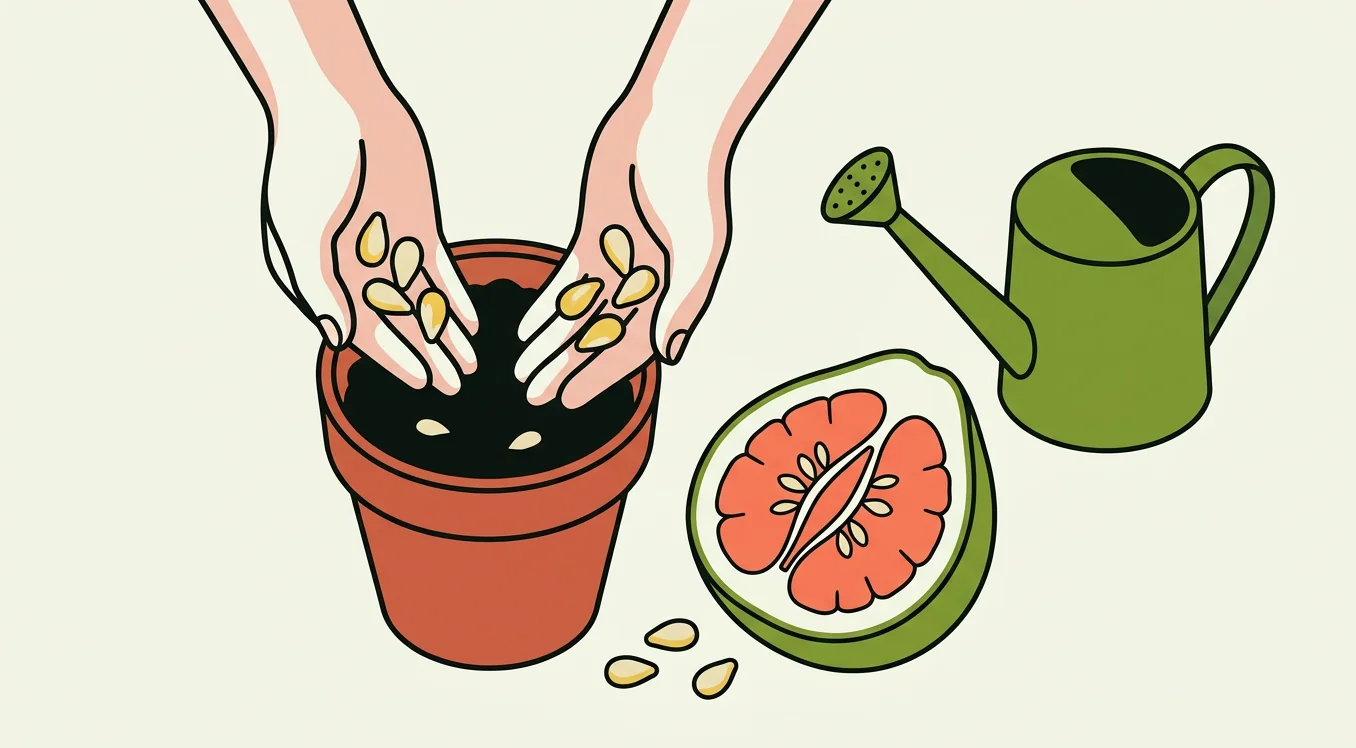
Step 1: Select Your Seeds
Start with a ripe, high-quality pomelo from a variety you enjoy. The best seeds come from fruit that is fully mature. Look for a pomelo that is heavy for its size, fragrant at the stem end, and yields slightly to pressure. Underripe fruit may contain immature seeds with lower germination rates.
When you cut the pomelo open, look for seeds that are:
- Plump and full-sized (roughly the size of a large watermelon seed or slightly bigger)
- Firm, not shriveled or soft
- Light tan to cream-colored, without dark discoloration or mold
- Intact, with no cracks in the seed coat
You will typically find 5 to 30 seeds per pomelo, depending on the variety. Collect more than you need — germination rates for pomelo seeds are generally 70-90% under good conditions, but having extras accounts for losses.
Important note on polyembryony: Many citrus species produce polyembryonic seeds, meaning a single seed can produce multiple seedlings, most of which are genetic clones of the mother tree. Pomelo seeds can be polyembryonic, but the degree varies by cultivar. This means some of your seedlings may be true clones while others are sexual hybrids — there is no way to tell which is which until the tree fruits years later.
Step 2: Prepare the Seeds
Once you have selected your seeds, clean them thoroughly:
- Rinse the seeds under cool running water, removing all fruit pulp and membrane.
- Gently rub each seed between your fingers to remove any remaining residue.
- Pat dry with a paper towel.
Some growers recommend peeling the outer seed coat (the hard, tan-colored shell) to speed germination. This is optional. Peeled seeds germinate roughly 3-5 days faster, but they are also more vulnerable to fungal infection and physical damage. If you choose to peel, use your fingernails or a small knife to carefully remove the outer coat without damaging the white embryo inside.
Plant seeds within 24 hours of extraction. Pomelo seeds do not store well — they are recalcitrant, meaning they lose viability quickly when dried. If you must delay planting, wrap cleaned seeds in a damp paper towel, place them in a sealed plastic bag, and refrigerate for up to one week.
Step 3: Germination
You have two reliable options for germinating pomelo seeds. The paper towel method is great for beginners because it lets you monitor progress.
Option A: Paper Towel Method
- Dampen a paper towel so it is moist but not dripping.
- Place your cleaned seeds on one half of the towel, spaced about an inch apart.
- Fold the other half over the seeds.
- Slide the towel into a resealable plastic bag. Leave the bag slightly open for air circulation.
- Place the bag in a warm location — 75-85°F (24-29°C) is ideal. The top of a refrigerator or near (not on) a heating vent works well.
- Check every 2-3 days. Re-moisten the towel if it dries out. Watch for mold; discard any affected seeds immediately.
You should see the first root tip (radicle) emerging within 7 to 14 days. Once the radicle is about half an inch long, it is time to transfer to soil.
Option B: Direct Soil Planting
- Fill small pots (3-4 inches) or a seed tray with a sterile, well-draining seed-starting mix. A blend of peat or coco coir, perlite, and vermiculite in roughly equal parts works well.
- Moisten the mix thoroughly and let excess water drain.
- Plant seeds approximately ½ inch deep, one seed per small pot or 2 inches apart in a tray.
- Cover pots loosely with plastic wrap or a clear humidity dome to maintain moisture.
- Place in a warm, bright location (indirect light is fine at this stage).
- Keep the soil consistently moist but not waterlogged. Mist with a spray bottle rather than pouring water.
Expect seedlings to emerge in 14 to 21 days with this method. Remove the plastic covering once you see green growth.
Step 4: Early Seedling Care
Once your seedlings have emerged and produced their first set of true leaves (the second pair, which look different from the initial rounded seed leaves), they need specific care to develop strong root systems and healthy growth.
Light: Move seedlings to bright, indirect light initially, then gradually transition to direct sunlight over a week. Young pomelo seedlings need a minimum of 6 hours of light daily. If growing indoors during winter, a full-spectrum grow light positioned 6-12 inches above the seedlings for 12-14 hours daily will produce the best results.
Watering: Keep the soil consistently moist. Young citrus seedlings are sensitive to both drought and waterlogging. The top half-inch of soil should be allowed to dry slightly between waterings, but the root zone should remain moist.
Temperature: Maintain temperatures between 70-85°F (21-29°C). Pomelo seedlings are tropical plants and will stall or die if exposed to temperatures below 50°F (10°C). Keep them away from cold drafts and air conditioning vents.
Fertilizing: Begin feeding once the seedling has 4-6 true leaves, typically 6-8 weeks after germination. Use a diluted liquid fertilizer formulated for citrus at one-quarter strength, applied every two weeks. Gradually increase to half-strength as the plant grows. Over-fertilizing young seedlings causes root burn and is one of the most common mistakes.
Step 5: Potting Up
As your seedling grows, it will need progressively larger containers. The general rule is to move up one pot size when roots begin circling the bottom of the current container or emerging from drainage holes.
A typical progression:
- Seed tray or 3-inch pot (germination to ~3 months)
- 6-inch pot (3 months to 1 year)
- 1-gallon pot (1 to 2 years)
- 3-gallon pot (2 to 3 years)
- 5- to 7-gallon pot (3 to 5 years, or until transplanting outdoors)
Potting mix: Use a well-draining citrus potting mix or make your own by combining two parts quality potting soil, one part perlite, and one part pine bark fines. Avoid heavy garden soil or mixes that retain excessive moisture.
Repotting technique: Water the plant thoroughly the day before repotting. Gently remove it from the old container, tease apart any circling roots, and place it in the new pot at the same soil level — never bury the trunk deeper than it was growing previously. Water thoroughly after repotting and keep in bright, indirect light for a few days while the plant adjusts.
Step 6: Transplanting Outdoors
If you live in USDA zones 9 through 11, you can eventually transplant your pomelo tree into the ground. Wait until the tree is at least 2-3 feet tall and has a woody trunk base, typically at 3-5 years of age.
Timing: Transplant in spring after the last frost date, giving the tree an entire growing season to establish roots before winter.
Site preparation:
- Choose a location with full sun (8+ hours daily) and protection from cold winds.
- Ensure the soil drains well. Pomelos will not tolerate waterlogged roots.
- Dig a hole twice the width and the same depth as the root ball.
- Amend heavy clay soil with compost and coarse sand to improve drainage.
After transplanting:
- Water deeply 2-3 times per week for the first year.
- Apply 3-4 inches of organic mulch around the base, keeping it 6 inches from the trunk.
- Stake the tree if it is exposed to wind.
- Protect from frost during the first 2-3 winters, even in zone 9, using frost cloth or blankets draped over the canopy.
For growers in zones 8 and below, permanent container culture is the better option. Keep the tree in a large pot (15-25 gallons at maturity) and move it indoors before temperatures drop below 50°F in fall.
Timeline: What to Expect
Realistic timeline for a seed-grown pomelo tree:
| Stage | Timeframe |
|---|---|
| Seed germination | 1-3 weeks |
| Seedling (first true leaves) | 1-2 months |
| Established young plant | 6-12 months |
| Ready for outdoor transplant | 3-5 years |
| First flowering (may not set fruit) | 6-10 years |
| First reliable fruit production | 8-15 years |
| Peak production | 15-30 years |
These timelines assume good growing conditions. Inadequate light, cold temperatures, or nutritional deficiencies will slow progress significantly.
Pros and Cons of Growing from Seed
Before you commit, consider the trade-offs honestly.
Advantages:
- Cost: Essentially free, since you are using seeds from grocery-store fruit.
- Education: The germination and growth process teaches plant biology in real time.
- Rootstock quality: Seed-grown trees develop their own root systems, which can be vigorous and well-adapted to local soil. Rootstock selection plays a major role in long-term tree health.
- Satisfaction: There is a genuine sense of accomplishment in growing a tree from a seed you pulled from your breakfast fruit.
- Ornamental value: Even a non-fruiting pomelo tree is an attractive, glossy-leaved houseplant or landscape specimen.
Disadvantages:
- Time to fruit: 8-15 years is a serious commitment. A grafted tree from a nursery will fruit in 3-5 years.
- Fruit quality uncertainty: Seed-grown pomelos often produce fruit that differs from the parent — sometimes inferior in taste, size, or juiciness. This is the single biggest drawback.
- No variety guarantee: You cannot predict with certainty what the fruit will taste like until the tree actually produces.
- Size: Without dwarfing rootstock, seed-grown trees can reach 25 feet, which is impractical for many home settings.
If your primary goal is eating pomelo from your own tree, a grafted nursery tree is the better choice. It cuts the wait time by half or more and guarantees fruit quality.
Growing from seed makes the most sense as a hobby project, an educational exercise, or a way to produce rootstock for future grafting — a technique that lets you combine a vigorous seed-grown root system with a known fruiting variety. Resources like the UC citrus home garden guide can help you choose the right variety to graft onto your seedling rootstock.
FAQ
Can I grow pomelo from store-bought fruit seeds?
Yes. Seeds from grocery-store pomelos are perfectly viable for planting. Just make sure the fruit is ripe (not underripe) and plant the seeds within 24 hours of extraction for best results. Seeds from organic fruit are fine. There’s no treatment that prevents germination. Check out our guide to picking pomelos to make sure you’re starting with ripe fruit.
Do I need to dry pomelo seeds before planting?
No. Drying pomelo seeds significantly reduces their germination rate. These are recalcitrant seeds that need to stay moist. Plant them fresh, or store them wrapped in a damp paper towel in the refrigerator for no more than a week.
Will my seed-grown pomelo taste like the pomelo I ate?
Possibly, but not necessarily. If the seed is polyembryonic and produces a nucellar (clonal) seedling, the fruit will be genetically identical to the parent. If the seedling is a sexual hybrid, it may differ significantly. There is no way to determine this until the tree fruits, which takes 8-15 years.
Last updated March 9, 2026